Showing posts with label Tutorial. Show all posts

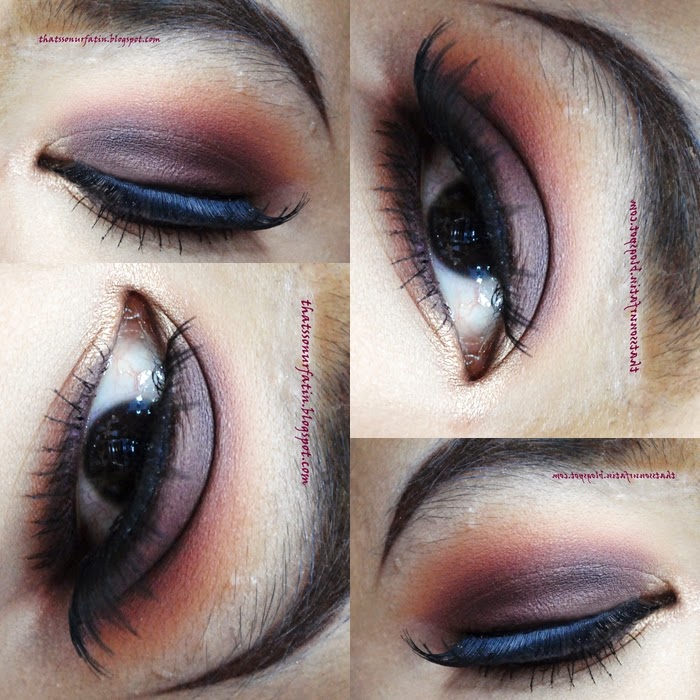
Tutorial #27 : Burgundy Cat Eye Makeup Look


Hellooooo beautiful people!

I never used a scotch tape for my makeup but I've been wanting to, so I used it.

#storyofmylife #theend

Immediately, I felt inspired to do a sharp edgy cat eye look so today I'm gonna show you step by step on how I achieve this smokey burgundy cat eye look. It looks intimidating but it's soooo easy to achieve. I think this was the fastest makeup look I have ever done. And since the cat eye look is purposely left looking sharp and kinda cut crease, there weren't so many brushes went down to create this look. No crease blending so no 18 brushes needed. Mih mih mih.

The ingredients:


Oh and also a scotch tape. Or dalam bahasa Bagan Serai nya, selotep.

Step #1:
Tape down the selotep on the outer edge of your eye, depending how slanted you want your cat eye to look. I used the side of my nose and the tail of eyebrow as my guide. After that, use any felt tip eyeliner and start lining the outer tail shape of the cat eye. Don't worry if it looks messy cause we can fix it later. Don't worry, look how I did mine. Like I was struggling doing it in the middle of earthquake. Watlek watpis.


Step #2:
Next, use a gel eyeliner and fill in the outer edge of the cat eye shape. I used Marc Jacob gel eyeliner something something in the color something something which is obviously a black but what fun to just call it a plain black right. It has to be something something. Ooooo..kay so you can just use any black gel liner that you have. 

After that, set the area with a black eyeshadow and blend it slightly to the front.


Step #3:
Here I used the mix of Makeup Geek's Raspberry and Bitten to create a red burgundy color and pat it on the center of the lid, blending it with the black eyeshadow color.


Step #4:
Use any light beige eyeshadow and highlight the 1/3 of the lid and highlight the tear duct as well.

Gently remove the scotch tape and you will get a nice sharp crisp line like meow meowwww.


Step #5:
Line the waterline with black liner, use a black eyeshadow on the lower lashline and smoke it out with the same burgundy color used on the lid. 

Glue on you fav falsies and mascara your lashes, and ang ang ang tot te mo dai yi suki Doreamon~ 
Meowww it's done!


Till my next pictorial,
Atin
 Mata Sepet

Follow me on Instagram. Or don't. Let your heart leads. Cececewahhh tooodiaaaa~

@nurfatinzakki


Tutorial #26 : Olive Green Makeup Look ft Too Faced Chocolate Bar palette


Hey hey you you.

I'm back with another look that I created using Too Faced Chocolate Bar palette. I'm super late to the party but I finally got my hands on the palette and lemme tell ya, I must be outta my mind for picking it up this late. It's sooo beautiful and pigmented and easy to blend. Have I told you about the smell? Oh the smell. I almost throw it on my plate every time I open it. Who can resist the smell of cocoa?

Well anyways, I hope you enjoy this antique olive green makeup pictorial look. Leggo!

Bahan-bahannya:


Step #1:
After priming the eyelids, use Salted Caramel and swipe it on the crease and blend it upwards and into the inner corner of the eyes. Betapa banyak and daaa...


Step #2:
Dip your blending brush into Semi Sweet and dab it on the outer V of the eyes. Make sure to blend it into the crease as well. Blend blend tonyoh tarik nun diaaaa~


Step #3:
Then, I used Maybelline Color Tattoo in Bold Gold as a base for my eyelids for the next eyeshadow to stick to and making it's color pop even more.


Step #4:
Take Gilded Ganache and place it all over the lids where the Bold Gold is placed. Pat pat pat, dab dab dab.


Step #5:
To darken up the look even more, use Triple Fudge and place it on the outer portion of the eyelids. Blend it into the crease all the way to the front corner of the eye.


Step #6:
Lastly, use Gilded Ganache on the lower lashes and smoke it out with the mix of Salted Caramel and Semi Sweet.


I used House of Lashes in the style Iconic to amp up the look. No liner is needed cause these falsies are everythangggg~


Hope this inspires you to create your look using Too Faced Chocolate Bar palette.

Have loads of fun yauwl!

Oh, and Happy Independence Day Malaysia!

Till my next pictorial,
Atin


Follow me on Instagram. Or don't. Let your heart leads. Cececewahhh tooodiaaaa~
@nurfatinzakki

Tutorial #25 : Midnight Violet Makeup Look ft Smashbox Double Exposure palette


Hello my beautiful people. Selamat Hari Raya!

Today's look revolves around some deep blue, violet and sparkly silver eyeshadow colors that are all in the Smashbox Double Exposure palette. I picked this palette up couple of months ago and I had just played with it. I'm telling you, I wish I had used it way sooner. The colors are so beautiful and pigmented. You can use all the eyeshadows as it is or you can amp up the intensity by using it wet without messing with the eyeshadow's texture. Awesome stuff. Haha.

Well, here are the ingredients used to achieve this look:

Step #1:
After priming your eyelids, take Makeup Geek's Cupcake, a dusty cool toned pink; and blend it on the crease. This will act as the transition color for deep blue and purple that will be used later on. Blend blend blend sampai berputaq tangan tooodiaaaaah!


Step #2:
Then, take Fig from the palette and blend it into the crease as well to deepen it more.


Step #3:
Next, use Temper and place it into the outer corner of the eye and blend it inwards.
Lagu tu.


Step #4:
Use Midnight and place it on the outer V of the eyelid as well to darken up the look.


Step #5:
Here I used the color Blanc and place it on the bare area of the eyelid. I spritzed on some Mac Fix+ on the brush and use the eyeshadow wet to intensify the color.


Step #6:

After that, wing out them liner and put on your fav falsies.


Lastly, line the waterline with the eyeliner combination of Sephora Stiletto and Zoeva Blue Lotus to achieve that vibrant violet color. Take the color Midnight and place it on the lower lash line, smoking it out with Cupcake. Highlight the inner corner with Blanc (dry) and the brow bone with Veiled.

Fuhhhh, penggunaan palette tahap maksima di situ.


Maka, silakan posing dengan bunga plastik from Ikea sambil mengibas2 kelopak mata dekat abam meatball mintak gravy lebih. Eh eh.

Till my next pictorial,
Atin


Follow me on Instagram. Or don't. Let your heart leads. Cececewahhh tooodiaaaa~
@nurfatinzakki

Tutorial #24 : Ultimate Eid Smokey Glam Makeup Look


Raya yeay! Raya yeay!

Have no idea what makeup look to go on Eid? Getting bored of the same neutral natural look? Don't worry bebeh, I gots you. 

*ini bukan iklan Go Shop*

What better excuse to pop on those glittery glitz glam eye look other than to merempuh rumah orang during Raya? Meriahnya raya kata kau, tak cukup lampu liplap liplap kau lilit dekat pagar rumah. Mata pun nak kena begermelapan.

Oh, gemerlapan. Bunga bunga matahari, anggun mekarrrr.

No? 

"Pem, aku cinta pada kau Pem" *suara itik*

No? Gemerlapan anyone?

Okay, I speak alien language if you haven't already know.

If you want to know how I achieve this look. then keep on scrolling down bebeh.

Step #1:
Prime your eyelids to prevent eyeshadows from creasing. Use Makeup Geek Peach Smoothie and dust it on the crease; blending it upwards.


Step #2:
Use Makeup Geek Cocoa Bear and place it in the crease as well. Make sure to blend it with the transition color in Step 1. Blend tonyoh tenyeh kamonnnnn hiyarghhhh~


Step #3:
To darken the crease even more, use Makeup Geek Mocha and blend it into the outer V. Blend the color into the crease all the way to the inner lids.


Step #4:
To make the look smokier, use Makeup Geek Corrupt and pat it in the outer V. Don't worry if the eyeshadow gets all over the edge of your eyes. You can clean it up later and the world will become a better place again. Mihmih.


Step #5:
Next, use any green or dark eyeshadow color as a base before slapping on the glitter. This can help the glitter to pop even more. I mixed the green and turquoise eyeshadow from Marc Jacob The Siren palette and place it all over the eyelids.


Step #6:
And now the fun part. The glitter. Ahhh, it feels like bombarding someone's place with confetti. Meriahhhh. I use glitter from Beauty Bar Baby in the shade Enchanted Forest (I bought it via cakefaceconfession_ from Instagram). And gewwrllll, this pic doesn't do justice to this gorgeous glitter. It look more eye catching-ly sparkly in person.

 Remember, use glitter glue to make the glitter stick onto your lids. Otherwise, people might mistook Raya for Halloween with all the glitters all over your face.


Take a cotton bud and put some makeup remover on the tip, and slowly clean up the edge of your eye like so.

Step #7:
After popping on your fav falsies, use any golden eyeshadow to highlight the inner corner. I used here KathleenLight eyeshadow from Where The Light Is eyeshadow quad by Colourpop.

Line your waterline with black no smudging eyeliner and set it Makeup Geek Corrupt eyeshadow. Then take Makeup Geek Cocoa Bear and smoke out the lower lash line.


Tadaaaaa~

Maka pergilah dikau kibas kibas kelip kelip mata dekat jiran sebelah bagaikan mata kena getik dengan pepatung. Atoiiii~


Beraya mana tahun ni?

Ingat macam nak beraya belah suami tahun ni.

Tapi tetiba teringat...

Aku mana kawen lagi. Bahahaha~

Selamat Hari Raya to all Muslim in the world!


Till my next pictorial,
Atin


Follow me on Instagram. Or don't. Let your heart leads. Cececewahhh~
@nurfatinzakki

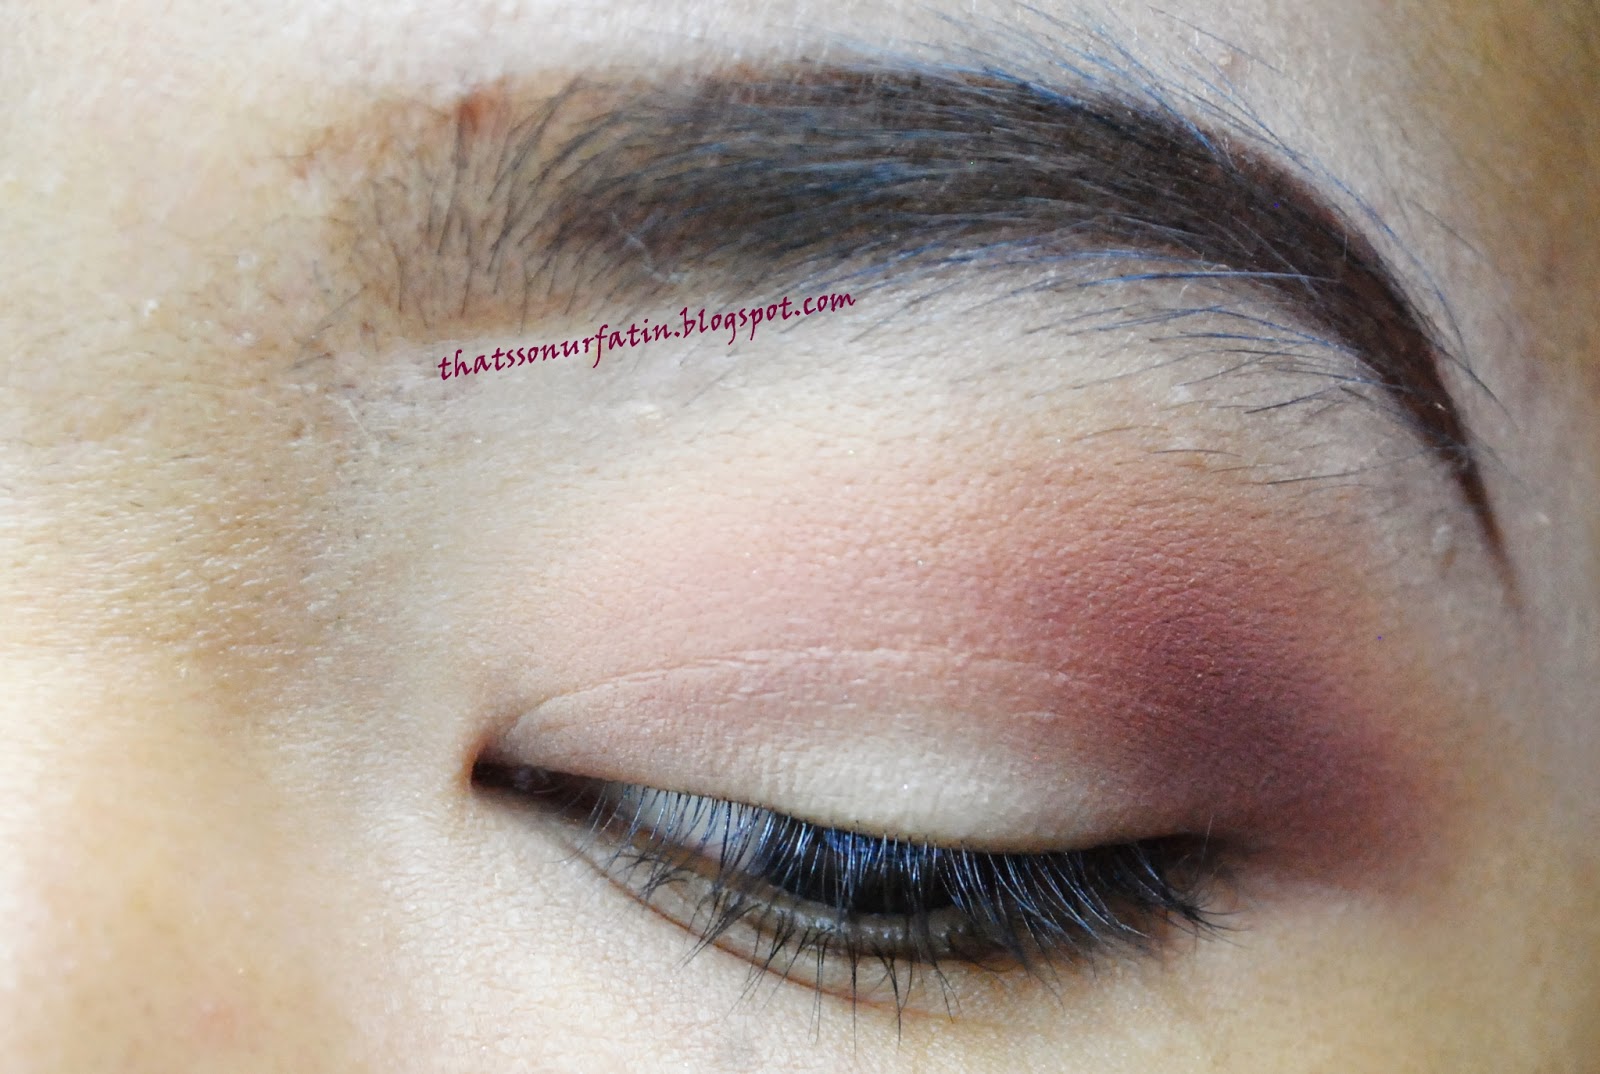
Tutorial#23 : Warm Smokey Burgundy Makeup Look


Yo yo peace yo.

I just got my Anastasia Beverly Hills palette that I customized and I just cannot put it down. I came up with this look using only the e/s from the palette and I just I just I just I just... *slap myself, get it together* .. LOVEEE this look.


I posted review and swatches of these e/s HERE if you want to check it out.
Without further ado, let's begin. Zasssss~

Step #1:
Take Caramel e/s and swipe it on the crease & blend it upwards. Eh eh don't forget to prime your eyelids with primer beforehand.


Step #2:
Use Red Earth e/s and deepen up the outer V and the crease.


Step #3:
Take Beauty Mark e/s and pat it all over the eyelid. Don't worry if it's look disconnected (haha), we will blend it the next step.


Step #4:
Use Morocco e/s and blend it into the crease. Make sure to blend until the edge of the Beauty Mark e/s is soften up.


Step #5:
Highlight the inner corner with Glisten e/s. Line your waterline with dark plum or black eyeliner. Then put Beauty Mark e/s on the lower lash line and smoke it out with the mix of Morocco and Red Earth e/s/


Pop on your falsies and walaweeee you're done!


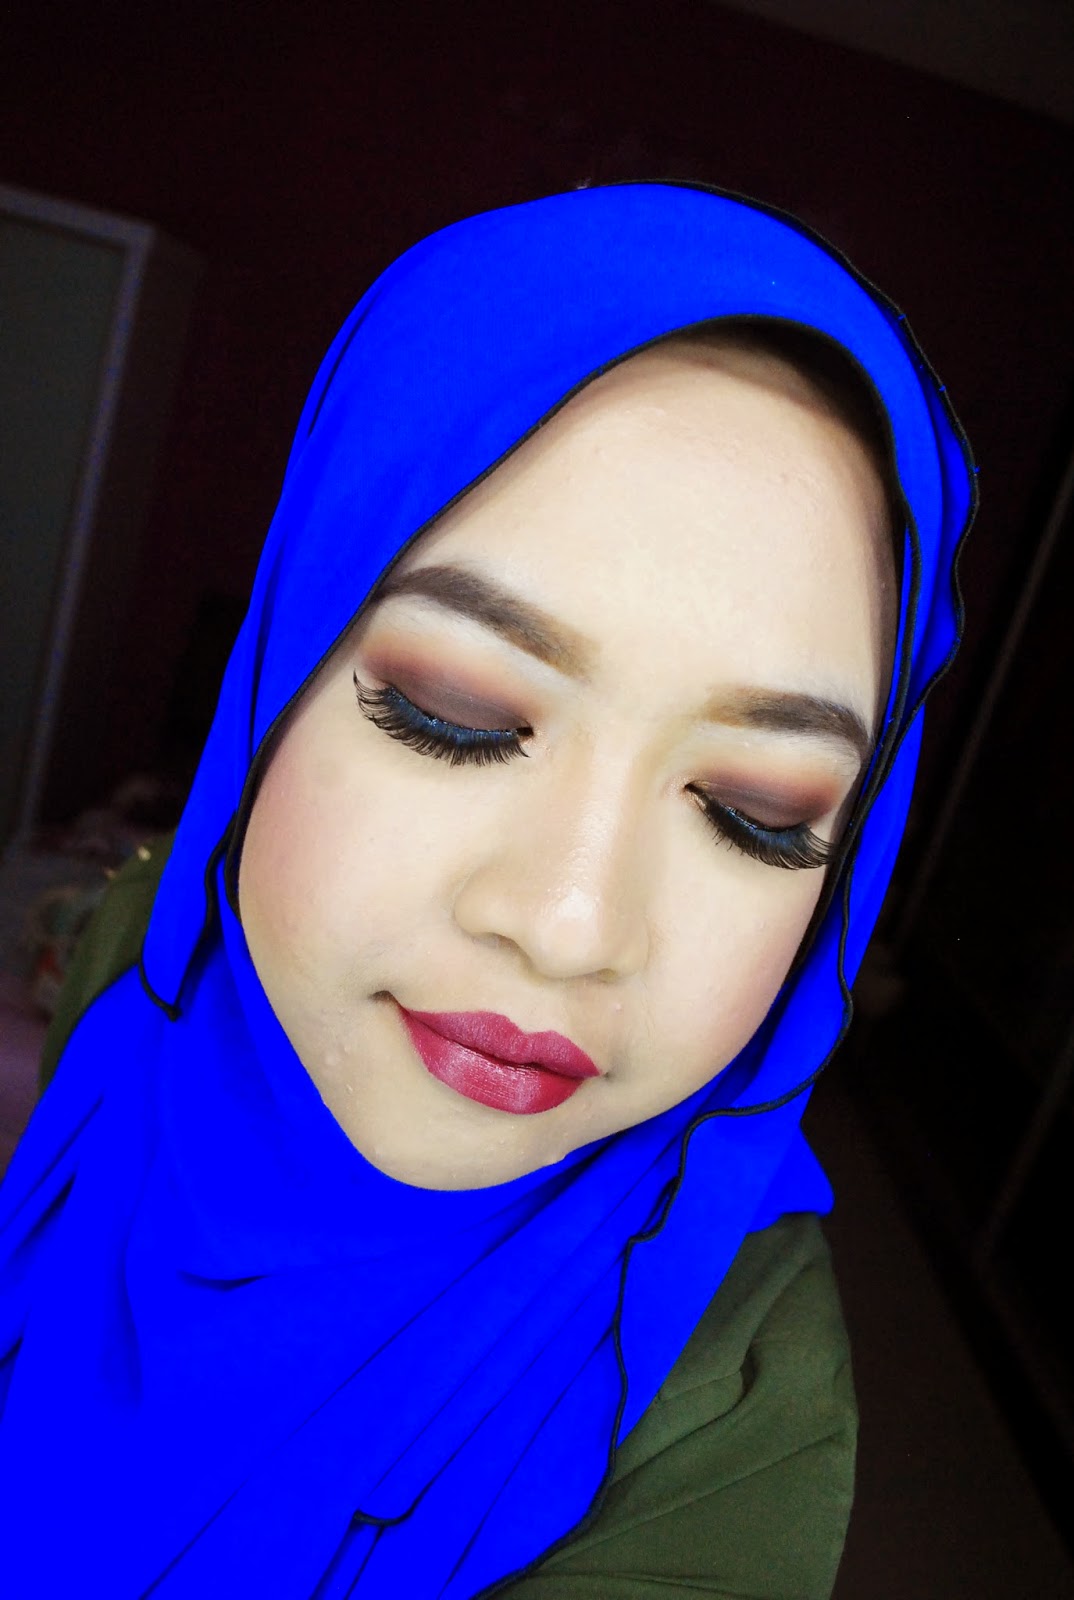
Soften up the look with muted pinkish mauve lip color. I used here Stila Liquid lipstick in Patina.


Or, glam up the look with dark red burgundy lipstick. Something like Nars Audacious lipstick in Audrey.


Till my next pictorial,
Atin


Follow me on Instagram. Or don't. Let your heart leads. Cececewahhh~
@nurfatinzakki